Dictation With a Virtual Microphone: 2026 Setup Guide
September 01, 2026
Route cleaned audio into dictation without loops, clipping, or double filtering.
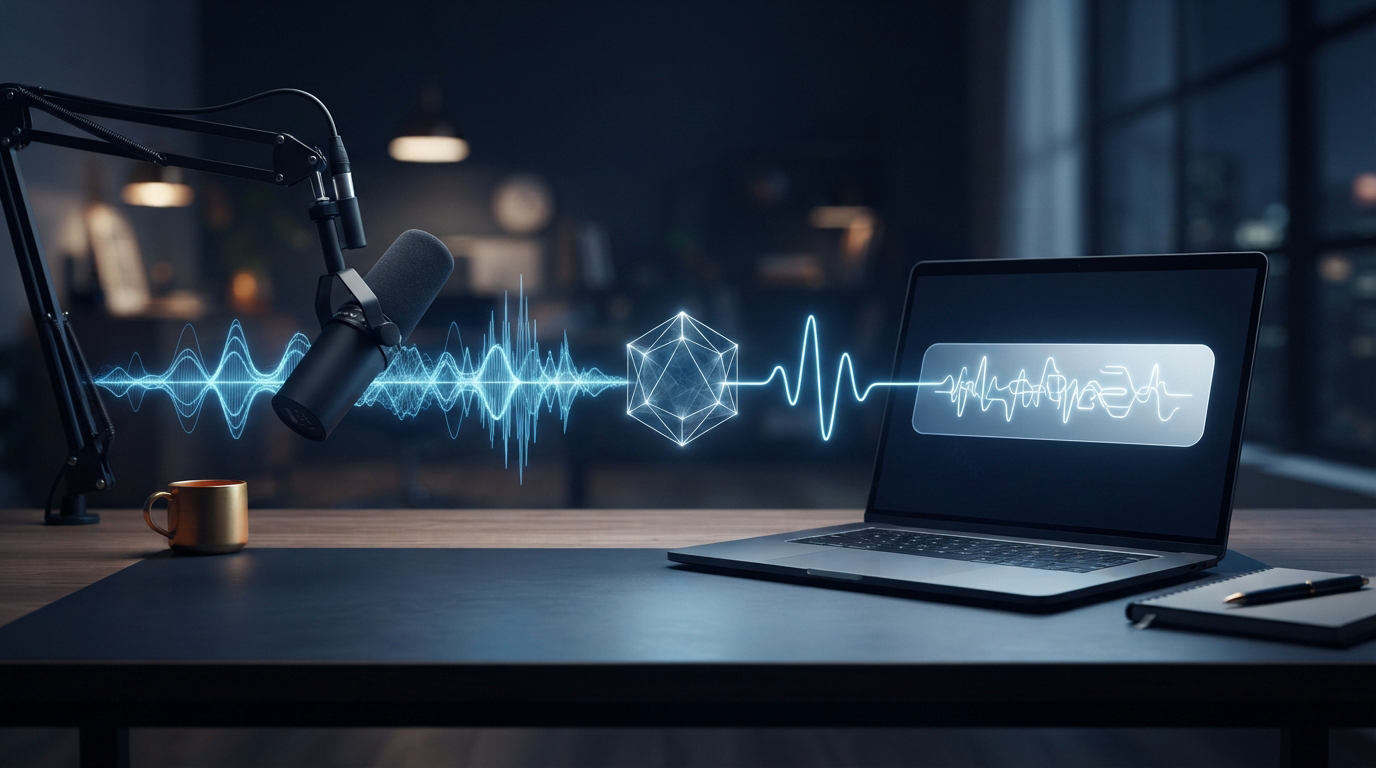
A virtual microphone can improve dictation in a noisy office, on a gaming PC, or through a remote desktop. But if the audio route is wrong, voice typing may stop working completely.
The setup seems simple: choose NVIDIA Broadcast, Krisp, BlackHole, or a VDI redirected microphone instead of the physical mic. The problem is that each extra audio layer can cause clipping, delay, or feedback. The safest setup uses one physical input, one processing layer, and one dictation input.
This guide covers the search query "dictation with a virtual microphone." It explains the signal path, lays out a clean setup order, and shows how to check whether noise removal improves recognition instead of merely making your voice sound polished.
Why virtual microphones matter for dictation now
Wispr Flow added support for virtual and routed audio devices in version 1.6.580, released on August 21, 2026. The release notes mention Krisp, NVIDIA Broadcast, BlackHole, and VDI redirects. The help documentation also tells users to open the additional device list if a virtual input is hidden.
This update matters because dictation software has usually treated audio devices as a minor settings issue. It isn’t. If the app can’t detect the processed microphone, users must choose between clear audio in meetings and raw audio for dictation. If it selects the wrong device after a reboot, speech can disappear even when every permission is correct.
The recent change is a useful reminder that a virtual microphone routes audio; it doesn’t improve speech recognition. It can remove fan noise, keyboard clicks, and steady room noise before the audio reaches the dictation app. But it can’t fix a distant microphone, a weak Bluetooth profile, or words that weren’t captured clearly.
Understand the signal path before changing settings
A dependable route has three parts:
- Your physical microphone captures your voice.
- One audio processor cleans or redirects that signal.
- Your dictation app listens to the processor's virtual output.
For NVIDIA Broadcast, set the dictation app to "Microphone (NVIDIA Broadcast)." In Broadcast, choose your actual USB, headset, or laptop microphone. Krisp works the same way. Select your real microphone in Krisp, then choose the Krisp virtual microphone in the dictation app.
BlackHole is different. It’s a macOS loopback driver used mainly to route audio between apps. It doesn’t remove noise on its own. If you set it up incorrectly, system audio may get sent into dictation, or the virtual device may receive silence because it has no monitor path.
VDI audio redirection adds another boundary. The local computer captures the physical microphone, then sends it through Citrix, VMware Horizon, or Remote Desktop. The hosted session may show it under a generic device name. First, decide where dictation will run. If the dictation app runs locally and types into the remote session, it should usually use the local microphone path. If dictation runs inside the hosted desktop, it needs the redirected input.
A clean Windows setup with NVIDIA Broadcast
Start with the physical microphone. In Windows Sound settings, speak into it and check that the mic level moves. Record ten seconds with the built-in Sound Recorder. If the recording sounds distorted, too quiet, or uses the wrong Bluetooth profile, fix the issue before opening NVIDIA Broadcast.
Open NVIDIA Broadcast and select your physical microphone as the source. Turn on only the effect you need, usually Noise Removal. Don’t set every control to maximum. Strong suppression can remove quiet consonants and sentence endings, which may hurt transcription even when the audio sounds cleaner.
Open the dictation app and choose Microphone (NVIDIA Broadcast). Make sure Broadcast isn’t routed back to its own virtual output, or you’ll create a loop. Don’t add another noise suppressor in the dictation app, Teams, Discord, or the remote session unless testing shows it helps.
Dictate the same 40-word paragraph twice: once through the raw mic and once through Broadcast. Include a proper noun, a number, an S-ending, and a quiet final word. Count meaningful errors instead of judging which recording sounds better. Keep the virtual route only if it improves the text or fixes real noise.
A clean Krisp setup on Mac or Windows
Krisp is useful if your computer doesn’t have a supported RTX GPU or you need the same processed microphone in several apps. Select your real microphone in Krisp, then choose Krisp Microphone in the dictation app.
Run the same raw-versus-processed test, and pay close attention to Bluetooth headsets. Some systems switch to a lower-quality hands-free mode when the headset microphone turns on. Noise removal can't restore detail that the Bluetooth profile already discarded.
On macOS, check microphone access for both Krisp and the dictation app. A virtual device may appear in the picker even when one app can't capture audio. If the level meter stops at one layer, test each layer separately before reinstalling everything.
What to do in Citrix, RDP, and VMware Horizon
Remote desktops support two valid designs. Most failures happen when the designs get mixed.
The first design runs dictation on the local computer. The app listens to the local microphone, converts speech to text, and inserts the text into the remote desktop. This avoids microphone redirection and can work better in environments that block clipboard access, especially when the dictation tool can type through simulated keystrokes. DictaFlow's Citrix guide explains this local-to-remote insertion model.
The second design runs dictation inside the hosted desktop. The VDI client has to redirect the microphone, the hosted operating system has to make it available, and the dictation app has to choose that redirected device. Group Policy can block this path even when local microphone access is enabled.
Test the simplest path first. If local dictation can type into the hosted field, don't redirect the audio unless an app inside the VDI session needs to hear it. Fewer audio hops usually mean less delay and fewer silent failures.
Five failure patterns and the fastest checks
- No input meter: the dictation app is listening to the wrong virtual device, or microphone permission is blocked.
- Text appears late: the audio processor, Bluetooth route, network, or hosted session is buffering.
- First words disappear: the processor may need time to open, or aggressive noise gating is treating quiet speech as background.
- Endings get clipped: suppression is too strong, or the dictation app is ending capture before the processor drains its buffer.
- Accuracy gets worse in a quiet room: the virtual processor is solving a problem that is not present. Use the raw microphone.
Change one layer at a time. A full reinstall usually won’t show you where the failure occurred.
How to choose the dictation app around the route
First, confirm that the app supports the device path you need. Then test the dictation workflow itself. Does text appear at the cursor? Can you use a hold-to-talk shortcut? Does it support custom vocabulary? Can you use it in regular apps and remote desktops?
DictaFlow costs $7 per month or $69 per year. It runs natively on Windows, Mac, and iOS, and works on Android. Its most useful features include hold-to-talk capture, custom vocabulary, formatting that adapts to the app you're using, local processing, and typing in difficult remote environments. Start with the DictaFlow getting-started guide, then use the dictation software comparison page to compare other options.
The best setup isn’t the one with the most audio tools. It’s the shortest path that captures every word clearly. Add one processor if background noise makes it necessary. In a quiet room with a good microphone, the raw signal may still sound better.